آموزشکده علم ایران

کمیاب ترین های برترین های دنیا

آموزشکده علم ایران

کمیاب ترین های برترین های دنیا

Caramelized Pumpkin Pie

Caramelized Pumpkin Pie

Pumpkin pie is one of the most popular Thanksgiving desserts; therefore we devoted some time to analyzing what makes this pie so easy to identify. It’s typically the spices you taste, not the pumpkin, so we came up with a way to extract the true taste of pumpkin while skipping the spices, at least in the custard itself.

Blog_Pumpkin Pie_205152

We decided to source one of our own recipes from Modernist Cuisine, wherein we pressure-cook carrots with baking soda. Baking soda deepens flavors and enhances caramelization of sugars, which, we concluded, would be the perfect way to accentuate the pumpkin’s essence. But it required finding the best pumpkin for the job. We settled on a type of pumpkin that comes in the shape of a can—it’s soft inside and practically pureed, with a label that says “Libby’s.” For pumpkin-flavored pumpkin, it’s our first choice.

—Francisco Migoya, Head Chef

2014-11-11-Pie-Blog20488_forEVER

Pumpkin Pie Recipe

Blog_Pumpkin Pie_201572

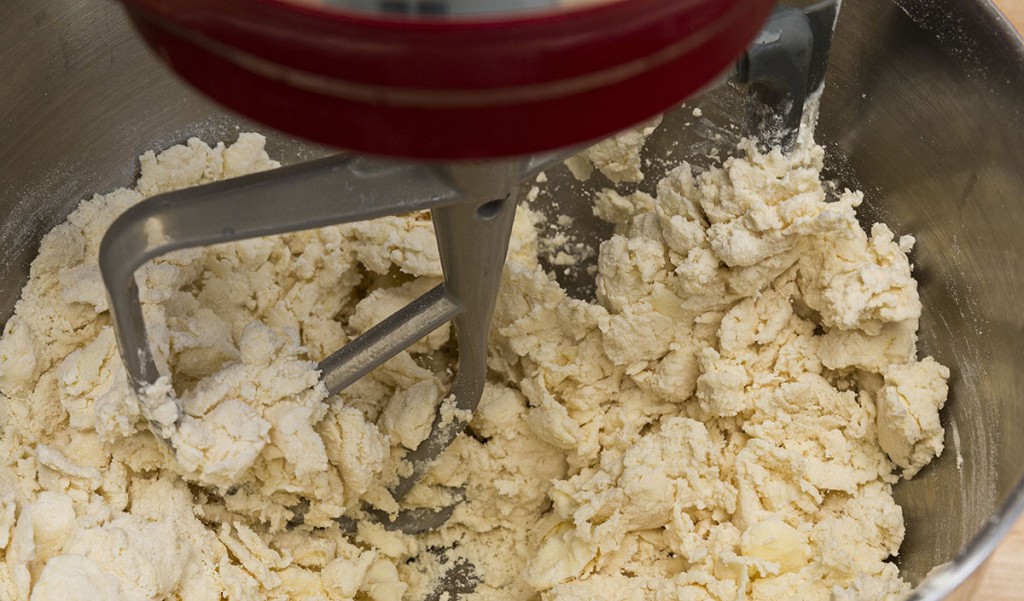
Step 3: The dough should form unevenly-sized chunks, known as a shaggy mass.

Blog_Pumpkin Pie_201982

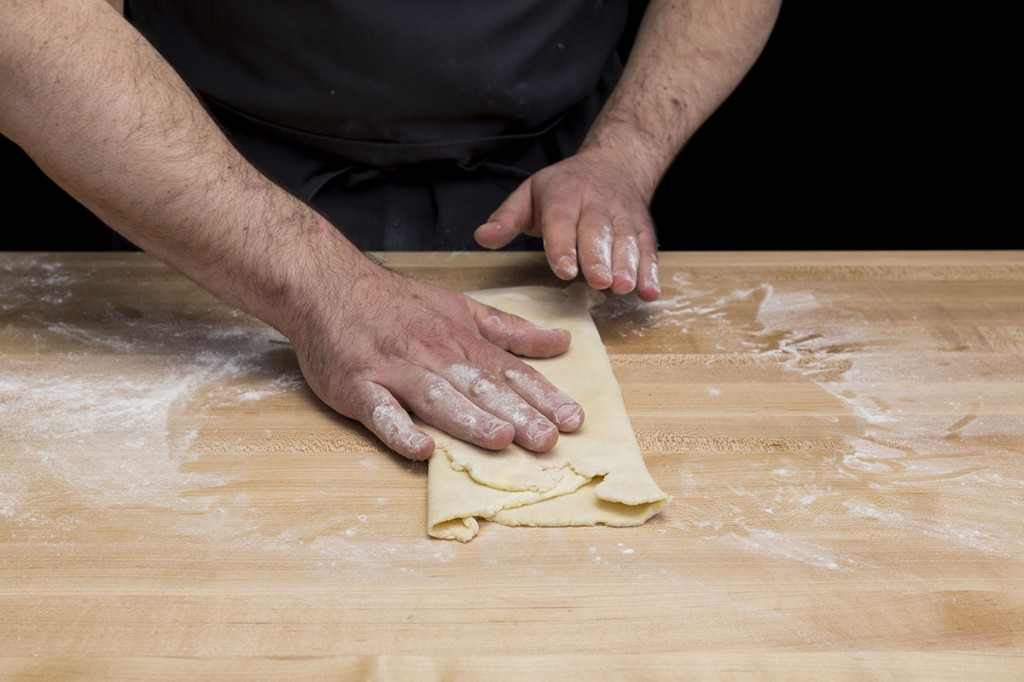
Step 6: After rolling dough into a thin disc, fold it in thirds.

Blog_Pumpkin Pie_202042

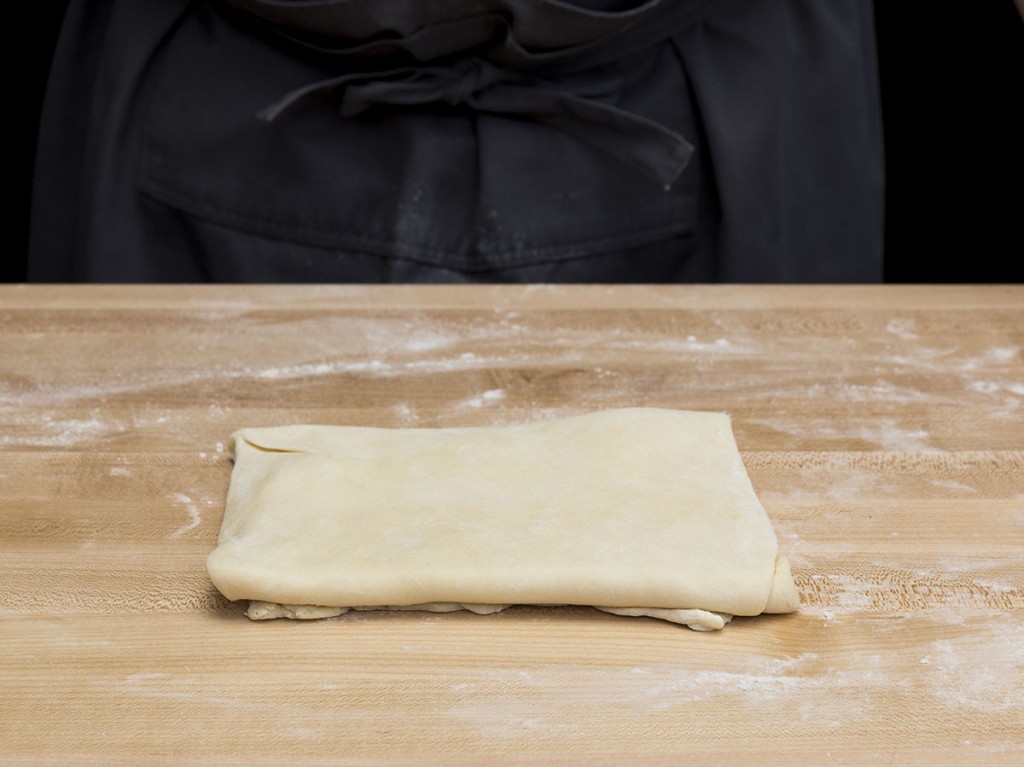
Step 6: Rotate dough 90 degrees, roll it gently, and fold it in thirds again to create a square mass.

Blog_Pumpkin Pie_203582

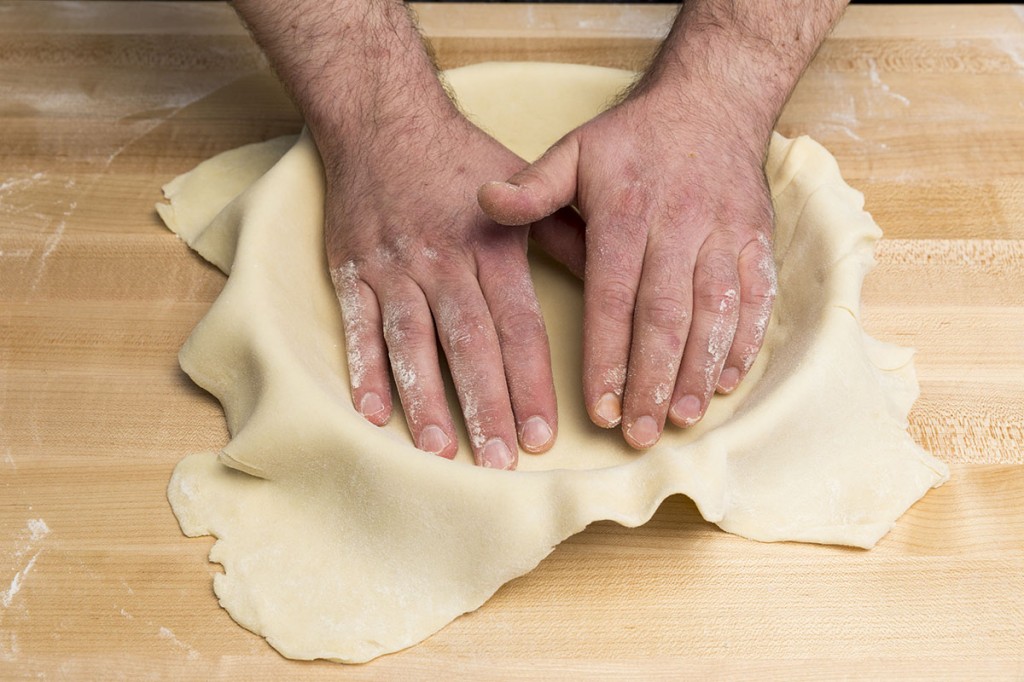
Step 8: As you line your pie tin with dough, press firmly against all surfaces of the tin, making sure that the edge between the bottom and side of the tin is covered.

Blog_Pumpkin Pie_203632

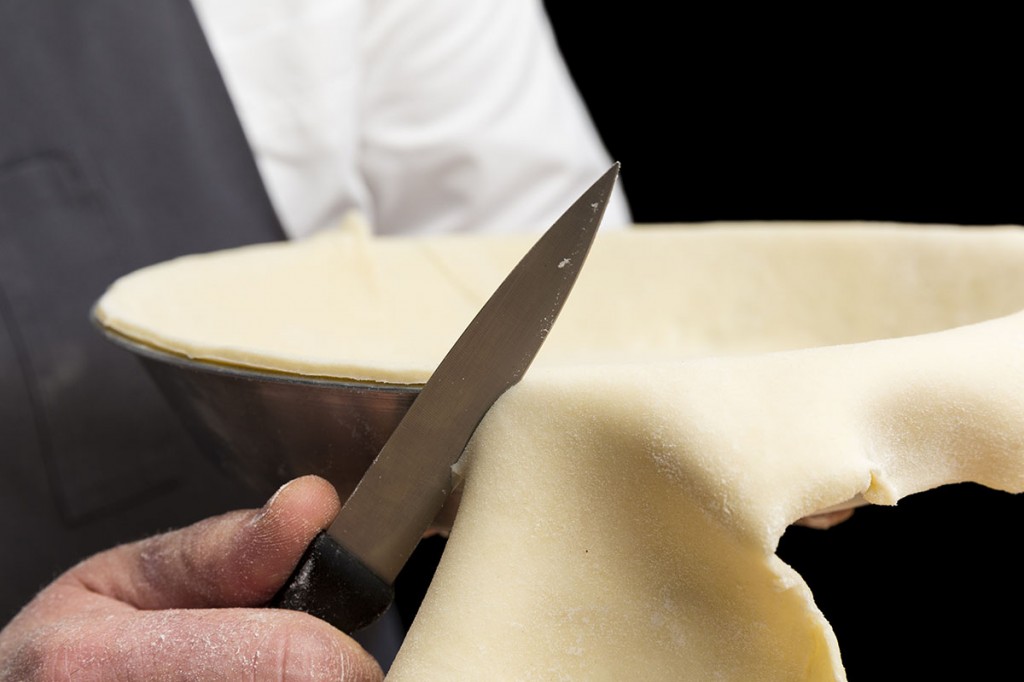
Step 8: We use a paring knife to tightly trim off excess pie dough.

Blog_Pumpkin Pie_203692

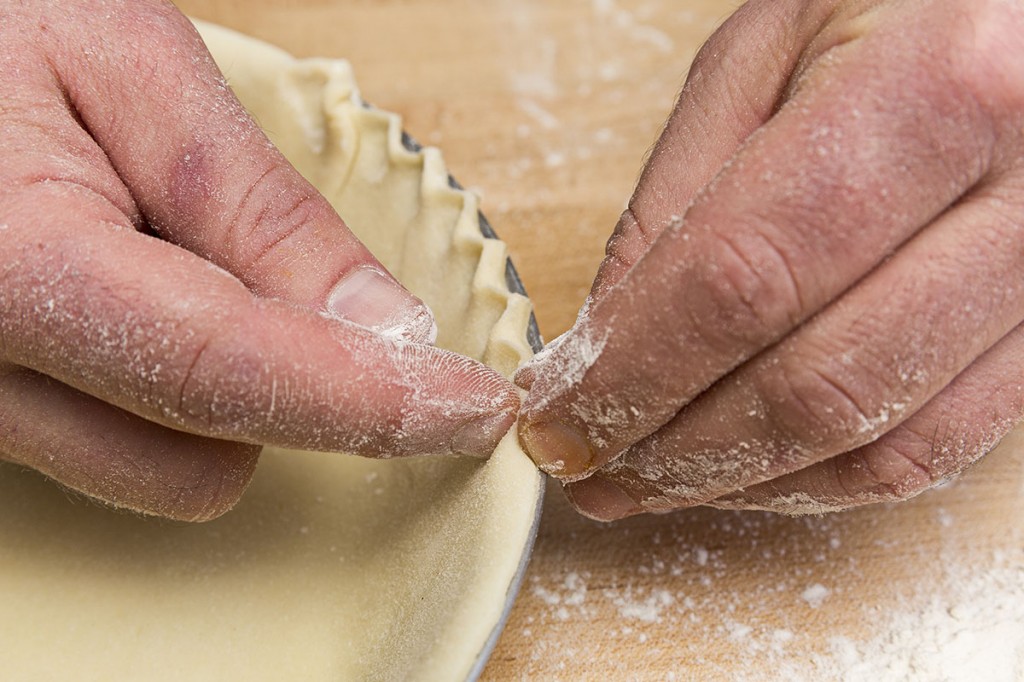
Step 8: To crimp, pinch the dough between your index finder and thumb, gently applying pressure.

Blog_Pumpkin Pie_202102

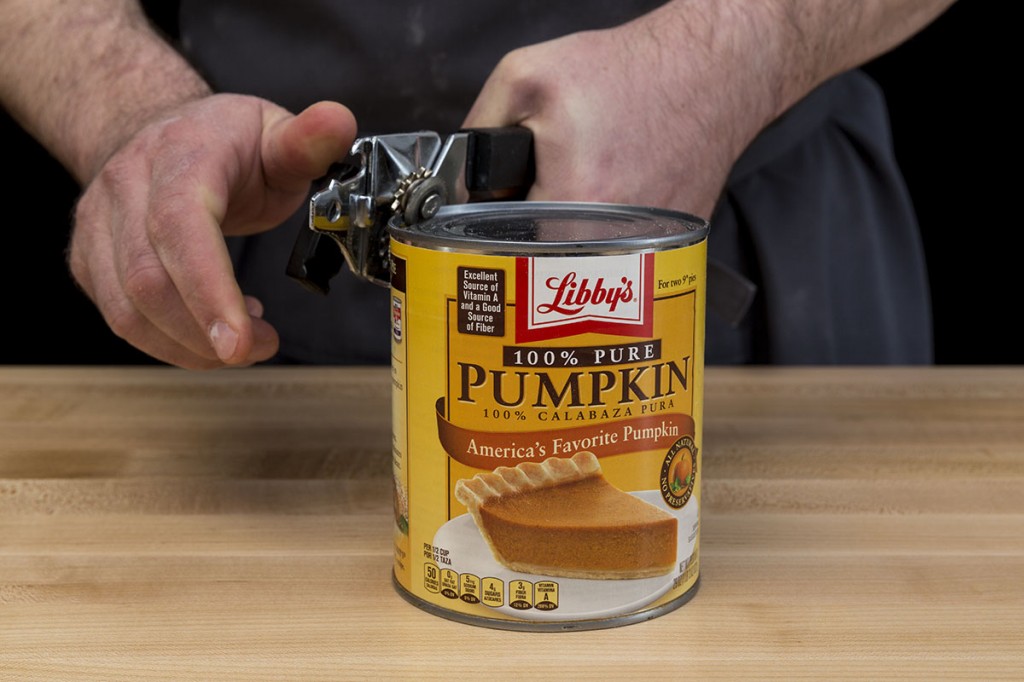
Step 11: We’ve found that can openers are best for opening Libby’s pumpkin puree.

Tips & Substitutions

Make in Advance:

  • The dough can be made six weeks ahead of time and then frozen until needed. The filling can be made up to four days in advance and refrigerated until needed. We recommend assembling your pie the morning of your dinner so that it has time to cool and set completely.


For the Dough:

  • Keep your ingredients, dough paddle, and mixing bowl cold for as long as possible. We keep our cubed butter and water refrigerated, and we store our flour (packaged in a zip-top bag), dough paddle, and mixing bowl in the freezer until we are ready to begin the dough.
  • In step 2, the butter cubes should be thoroughly coated in flour. The coating prevents the development of a mealy dough texture and the butter from clumping together in step 4.
  • Over-mixing the ingredients can affect your results when your pie bakes. In step 2, the butter and flour should be mixed until the butter is about the size of a chickpea. After adding the water in step 3, mix the dough until the flour is no longer visible, but before a solid mass of dough has formed around the paddle. The dough should form unevenly-sized chunks, known as a shaggy mass.
  • After removing the dough from the mixer in step 5, we recommend compressing the dough by hand into two discs to prevent over mixing. Look for large pieces of butter in your dough—those chunks are the key to a flaky crust.
  • The technique in Step 6 is similar to laminating croissant dough. The folds create flaky layers when the pie bakes.
  • Before lining your pie pan with dough, give the dough about 20 minutes to relax. It’s an extra step, but we find that the additional time prevents the dough from shrinking as you press it into the pie pan.
  • We like to transfer our relaxed dough into the pie pan by lightly folding the dough into fourths, so that the shape resembles a flat ice-cream cone. The shape makes thin doughs easier to manage.
  • To crimp your crust, pinch the dough between your index finger and thumb, gently applying pressure to create divots. You can also use the tip of a fork to create a crimp pattern.
  • Don’t throw away the excess pie trimmings! Toss your scraps in cinnamon and sugar, and then bake them in the oven next to your pie. The trimmings will puff up, similar to pastries, and are the perfect size for snacking.


For the Whipped Crème Fraîche:

  • If possible, use a cake stand that spins. As you pipe the whipped crème fraîche, keep the bag still and spin just the stand, working in a spiral from the inside out.


For the Assembly:

  • For the egg wash, combine one egg, one egg yolk, a splash of milk, and a pinch of salt in a small bowl. We recommend using baking stones to bake pies. Stones provide better heat distribution, which will prevent the middle of the pie shell from becoming soggy.
  • Keep an eye on your pie as it bakes—there are two visual cues that indicate when the pie is done. When your timer goes off, open your oven, don your kitchen mitts, and give the pan a nudge. As you move the pan, the finished pie should demonstrate what head chef Francisco Migoya calls a “gelatinous jiggle.” The middle of the pie should gently bounce up and down while the perimeter of the filling remains motionless. If you nudge the pie and the filling ripples, or still resembles a liquid, it needs more time.
  • The pie filling will also develop a slight dome shape when it’s ready, similar to a soufflé. Once you remove the pie from the oven, the dome will fall.

نظرات 0 + ارسال نظر
برای نمایش آواتار خود در این وبلاگ در سایت Gravatar.com ثبت نام کنید. (راهنما)
ایمیل شما بعد از ثبت نمایش داده نخواهد شد